Andy Warhol, Pets and Printmaking

Andy Warhol was certainly a unique artist. The Factory,  Pop Art, his wig and crazy life-style… there are so many things one can talk about (or not like talking about). But when it comes to introducing his art to the kids, I believe his love for animals (especially his cats and his stuffed great Dane) are the easiest and the most fun way to go.

Of course, we need to print those images so that’s why I’d like to introduce:

printmaking_warhol

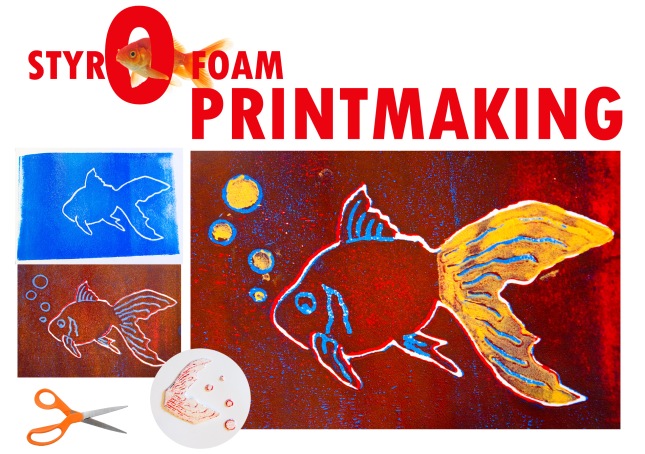
This is really fun and easy for the kids. You can purchase the Styrofoam plates (or use some of the ones you may have at home – from food items). Then you just need to use a pencil or wooden stylus to draw your picture (mirror image). Then spread some ink over it with a roller, put a piece of paper on top and use a roller to press down. Done.

You can learn the basics as well as some little-bit advanced option (like the one for the fish right here) in this short video.

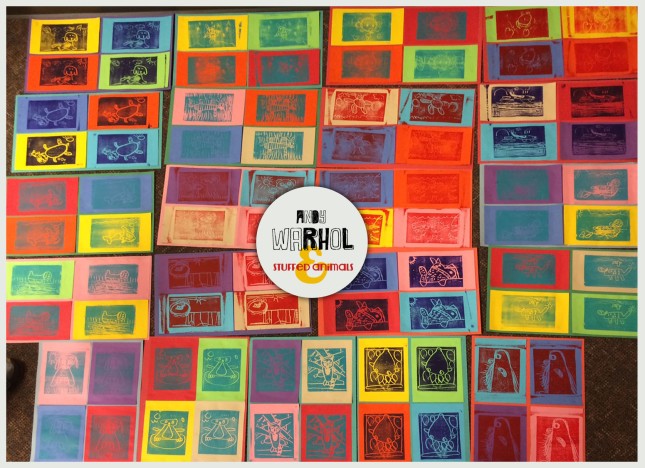
I have taught this lesson in the 1st grade but to make it even more fun for the kid,s I asked them to bring their stuffed animal. We put them on a table and painted their portraits (just like Andy did with his stuffed dog). The results were really awesome! Each child made 4 prints onto 4 different-colored papers and we mounted them onto a large piece of paper. Here they are, what do you think?

warhol_class

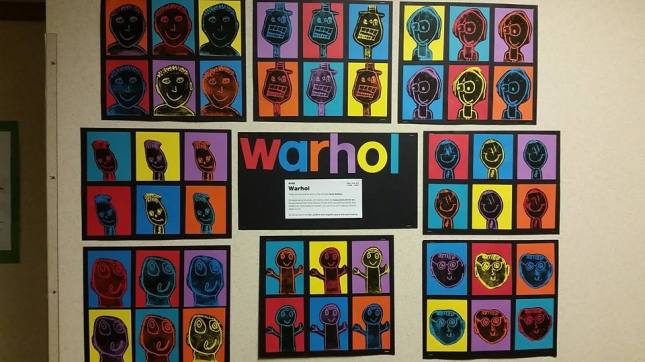
Of course you can use this technique and the lesson to print portraits of kids as well. One of our schools did an amazing job with self-portraits. They printed them on 6 colored papers and then cut them out and mounted them onto another colored papers. Easy and definitely fun to look at.

10356202_10206487951622734_6286720876733074243_n

Visit our gallery to see even more images and ideas!

If you want to teach this lesson to your kids, here are some links to get you started:

Try Cézanne art lessons, videos and presentations

YAY! Our new website has launched! We have worked on it for a while now and I cannot even tell you how excited I am that it is launched and done!

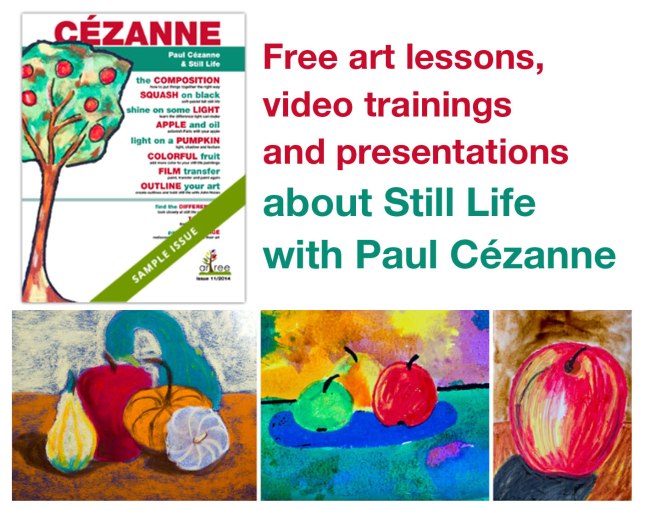
Anyway, I’d love to show you how it looks! And what better way to look at our magazine, video trainings and presentations than to give you free access to at least one issue.  Here it is.

It is filled with pages of art projects for kids 5-10 years old.

I chose one of my favorite issues of the magazine. I just love Paul Cézanne. Check it out, maybe you will fall for his apple paintings as well. For me, it is always about the back story…  did you know, why he painted over 200 paintings of the apples for 30 years? You will know it in a minute…

free cezanne art lessons for kids

Just click this link and let me know what you think: https://artreekids.com/magazine/issues/2014/11/

Do not forget to check out the ‘see training materials’ to access videos, presentations and more.

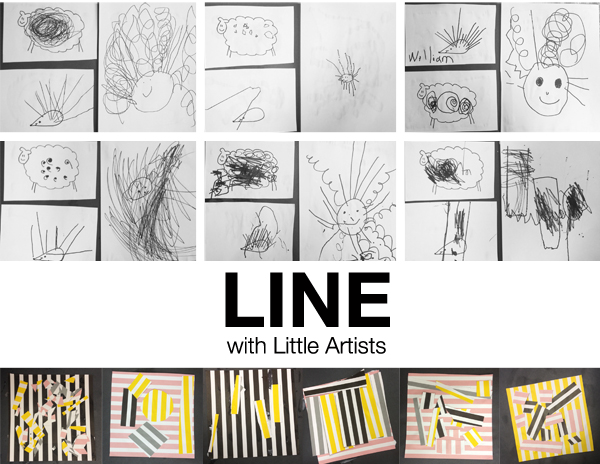
Line with Little Artists

Basic Art Elements with preschoolers. Lesson one:line.

line

In this lesson we made our own book about line. I put together presentation with works of famous artists, different types of lines and all of that… and after we talked about line for a while, we did a little exercise. We added wavy and curly lines (free-hand) on our sheep and straight lines with a ruler – on our hedgehog.

Then we combined all of the lines we talked about into the ‘crazy hair day’ picture.

We have also looked at Op Art and created a collage out of a stripped scrapbook paper. They all loved cutting and gluing! Some of them really got into it and did not want to give up their scissors for a while 🙂

What else? We have also played around with yarn – trying to make different lines (and shapes) out of it… we even walked on the lines to combine some art with gross movement exercise (and to let them stretch after 40 minutes of drawing and cutting and gluing).

The best part was combining all of the pictures together and making the book. They were very proud as they were carrying it home. I think now we have to do this every time…

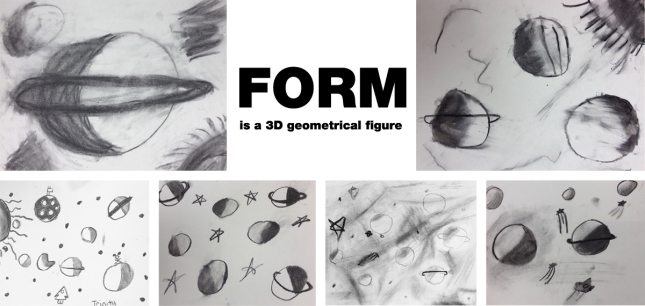
Form: 3D and charcoal for kids

form

Form – one of the most challenging art elements for the kids. How do you teach them about 3D objects?

We started with an exercise – drawing a square, cube, triangle, pyramid, circle and a sphere. They did really well and only got stuck on the ‘changing circle to sphere’ part. We talked about shading and blending, the light that hits the object at an angle – and looked at it with a ball and a flashlight. It seemed to clicked for all of them.

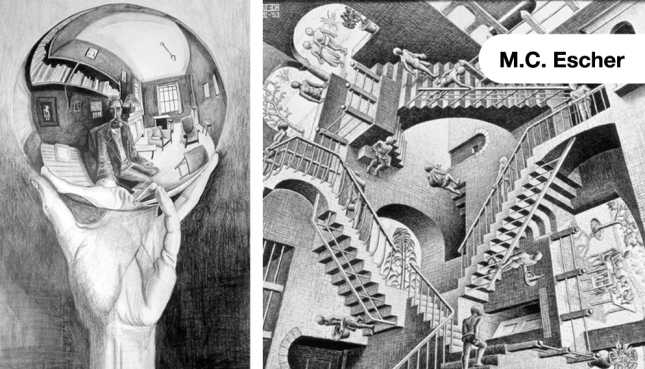
Our artists this week was M.C. Escher. We explored his work and the way he distorted form to create optical illusions. The Pepe walking up the stairs in a never-ending loop was everybody’s favorite piece!

escher

Our project was space. We used charcoal and blending stumps to draw the planets and then shade them. We talked about having only one source of light – the Sun, and discussed the way it hits the planets at the same angle. They seemed to have a lot of fun and we even had time to create a collaborative project for the school’s art show – but more about that some other time. For now, it’s a secret.


Bunch of Van Gogh’s Sunflowers (for preschoolers)

van_gogh_sunflowers

Vincent van Gogh painted over 800 paintings in less than 10 years. He was so passionate that sometimes, he did not sleep for couple of days just to finish a painting. Other times, he did not eat much because he spent all of his money on art supplies. He put a lot of himself and his feelings into his work – making it very personal and intense.

Show kids his beautiful Sunflower paining and then give them each an orange/yellow circle. Explain the difference between short/long brushstrokes:

brishstrokes

Then show them the parts of the flowers and discuss them (seeds/petals… their shape). After the kids spent some time exploring the flowers, let them use brown  short strokes (for the middle – seeds) and long yellow strokes (for the petals). Let each kid create one sunflower and put them all in a big vase, along with some green tissue paper. Done.